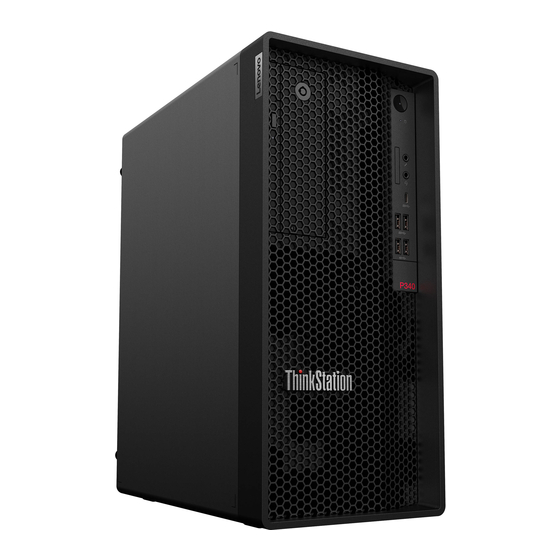
Lenovo ThinkStation P340 Setup Manual
Hide thumbs
Also See for ThinkStation P340:
- User manual (148 pages) ,
- Hardware maintenance manual (120 pages) ,
- Setup manual (9 pages)
Summary of Contents for Lenovo ThinkStation P340
- Page 1 Ubuntu Linux Setup Guide For ThinkStation P340 Tower/SFF ***Official support of Ubuntu 20.04 LTS and later...
- Page 2 Contents SECTION 1 – BIOS SETUP & PRE-INSTALLATION STEPS SECTION 2 – INSTALLING RHEL 8.2 SECTION 3 – RAID INSTALLATION SECTION 4 – LAN CONNECTION SECTION 5 – INSTALLING THE NVIDIA GRAPHICS DRIVER SECTION 6 – REVISION HISTORY...
-
Page 3: Section 1 - Bios Setup & Pre-Installation Steps
The first step before installing Linux is to make sure the system BIOS is setup correctly. • Boot into BIOS by pressing the function F1 key at the “Lenovo” splash screen. • Check whether Secure Boot is disabled. If found enabled, disable it. - Page 4 • Save changes by pressing F10 function key.
-
Page 5: Section 2 - Installing Ubuntu Linux 20.04 Lts
Section 2 – Installing Ubuntu Linux 20.04 LTS Please refer to the following instructions and screenshots on how to install Ubuntu 20.04 LTS on the Lenovo ThinkStation P340. • Insert the Ubuntu 20.04 LTS installation media (either through USB or CD/DVD). - Page 6 • Highlight Install Ubuntu from the GRUB boot menu and hit enter • The Ubuntu Linux Welcome Screen should appear. Select the appropriate language and Continue.
- Page 7 • Choose the keyboard layout and language accordingly by selecting each one and press Continue. • Select Normal Installation and Continue.
- Page 8 • Choose the installation type. For simplicity, this guide was done using Erase disk and install Ubuntu. Currently, Lenovo P340 systems do not support RAID installations– Check Section 3 for details. • Select Continue to confirm changes will be made to the disk.
- Page 9 • Choose the appropriate geographical location and select Continue. • Fill out the appropriate input boxes and select Continue.
- Page 10 • Ubuntu installation progress bar will be shown. • Once the installation completes, select Restart Now.
- Page 11 • Remove the installation media and hit enter. • Ubuntu Desktop Screen.
-
Page 12: Section 3 - Raid Installation
Section 3 – RAID Installation Currently Lenovo P340 systems only support single drive installations and not RAID installations in Ubuntu 20.04 operating system due to unavailable kernel drivers. Section 4 – LAN Connection LAN is native to Ubuntu 20.04 and would not require additional drivers for it to work. -
Page 13: Section 5 - Installing The Nvidia Graphics Driver
Section 5 – Installing the Nvidia Graphics Driver In order to get optimal performance out of the Nvidia GPU, it is a good idea to install the Nvidia graphics driver. • Download the latest Nvidia graphics driver for the appropriate Nvidia GPU from here. - Page 14 • Run the command: update-initramfs - • Reboot the system: reboot • Once your system reboots, open a terminal window and- o Log in as root: sudo su o Run the command: apt-get update...
- Page 15 • Install gcc: apt-get install gcc • Install make: apt-get install make...
- Page 16 • Install linux-headers: apt-get install -y linux-headers* • Stop x-windows by using the command: init 3...
- Page 17 • Log in as root and redirect to the directory where the Nvidia driver is located. • Make the Nvidia installer an executable by the command- chmod +x NVIDIA-Linux-x86-64-* And run the Nvidia driver by- ./NVIDIA-Linux-x86_64-430.50.run...
- Page 18 • Select Continue installation. • Wait until the kernel modules are completely built.
- Page 19 • Select Yes for installing 32-bit compatibility libraries. • Select Install and overwrite existing files.
- Page 20 • Wait until the installation is complete. • Select Yes to run nvidia-xconfig utility to automatically update your X configuration file.
- Page 21 • Select OK once the X configuration file gets updated successfully. • Execute the following command to verify the Nvidia driver is loaded- nvidia-smi • Reboot the system.
-
Page 22: Section 6 - Revision History
Section 6 – Revision History Version Date Author Changes/Updates 06/04/2020 Sayali Pawar Initial launch release...


