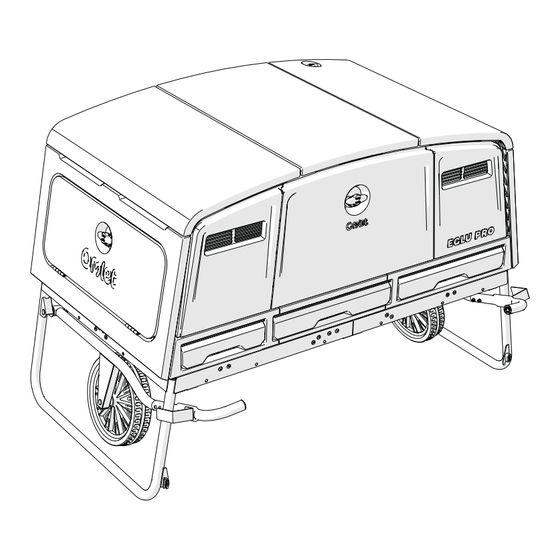
Omlet EGLU PRO Assembly Manual
Hide thumbs
Also See for EGLU PRO:
- Assembly manual (12 pages) ,
- Assembly manual (12 pages) ,
- Assembly manual (12 pages)
Summary of Contents for Omlet EGLU PRO
- Page 2 If you are attaching your Autodoor after you have assembled your Eglu Pro coop please go to step 1. If you have come from step 49 of the main Eglu Pro Manual and are still assembling your coop please go to step 6.
- Page 3 Roof removal optional 114.1189...
- Page 4 114.1187 Keep the Parts safe until Step 5 064.1143 800.0240...
- Page 5 800.0240 064.1143 800.0240 014.1167...
- Page 6 800.0179...
- Page 7 Keep the Parts safe until Step 11 800.0487...
- Page 8 800.0487...
- Page 9 If you haven't removed the roof, you can remove one bolt at the front and pull the corner up to slide the bracket on. 014.0056: Control Panel Mounting Bracket Eglu Cube Mk2 & Pro House 014. 0054...
- Page 10 If you started with a fully assembled Eglu Pro, please reattach the components you removed at the beginning of this manual to get your coop fully reassembled. If you still need to finish assembling your Eglu Pro coop, please return to step 49 of the main Eglu Pro instruction manual now.
- Page 11 800.0103 014.1135...
- Page 12 Please reuse, compost, recycle. © Copyright Omlet Ltd. 2024 Design registered, patent pending Omlet and Eglu are registered trademarks of Hebe Studios Ltd. 820.2679_Instruction Manual Eglu Pro Autodoor Assembly 29/01/2024...


