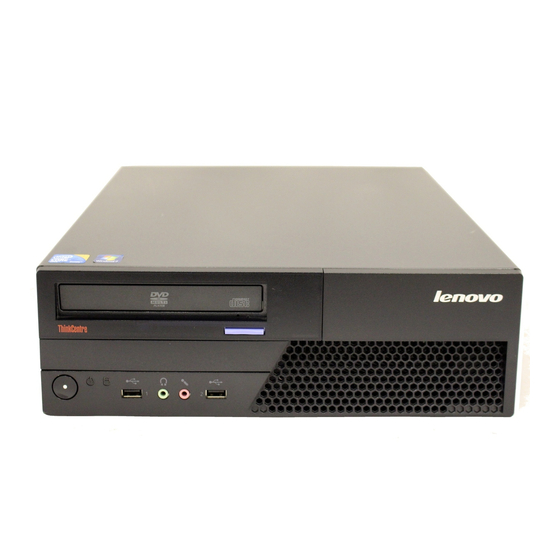
Lenovo ThinkCentre M58 Manual
Sf08-d0200
Hide thumbs
Also See for ThinkCentre M58:
- User manual (92 pages) ,
- (88 pages) ,
- Felhasználói kézikönyv (84 pages)
Advertisement
Quick Links
In this guide we are providing you with instructions for manual Windows XP install (from CD) and
Remote Install Service instructions to integrate the M58/M58p SATA and Ethernet driver for image
deployment.
‐Manual Install:
This section will give you step by step instructions on installing Windows XP SP2 on a Lenovo
M58/M58p, it was done using a 7483‐ACU and BIOS version 5CKT34A, with default values.
Before you start you will have to create the mass storage driver diskette, download the latest driver
package at
http://www-307.ibm.com/pc/support/site.wss/MIGR-70696.html
the following one to your formatted diskette:
‐
iaahci.cat
‐
iaAHCI.inf
‐
iastor.cat
‐
iaStor.inf
‐
iaStor.sys
‐
TXTSETUP.OEM
Make sure your M58/M58p has either an internal or USB floppy drive so that you can specify which
drivers to use.
1. Boot your computer from the Windows XP media
2. Press "F6", when prompted, to specify additional devices
*It's possible that Windows XP will not be able to find your computer type (HAL) if you're
prompted to select one please make sure to choose "ACPI Multiprocessor PC"
3. Choose the "Intel(R) ICH10D/DO SATA AHCI Controller" from the list, you might have to scroll
up or down to get to this choice.
Installing Windows XP on M58/M58p
once the files extracted copy
Advertisement

Summary of Contents for Lenovo ThinkCentre M58
- Page 1 Installing Windows XP on M58/M58p In this guide we are providing you with instructions for manual Windows XP install (from CD) and Remote Install Service instructions to integrate the M58/M58p SATA and Ethernet driver for image deployment. ‐Manual Install: This section will give you step by step instructions on installing Windows XP SP2 on a Lenovo M58/M58p, it was done using a 7483‐ACU and BIOS version 5CKT34A, with default values. Before you start you will have to create the mass storage driver diskette, download the latest driver package at once the files extracted copy http://www-307.ibm.com/pc/support/site.wss/MIGR-70696.html the following one to your formatted diskette: ‐ iaahci.cat ‐ iaAHCI.inf ‐ iastor.cat ‐ iaStor.inf ‐ iaStor.sys ‐ TXTSETUP.OEM Make sure your M58/M58p has either an internal or USB floppy drive so that you can specify which drivers to use. 1. Boot your computer from the Windows XP media 2. Press “F6”, when prompted, to specify additional devices *It’s possible that Windows XP will not be able to find your computer type (HAL) if you’re prompted to select one please make sure to choose “ACPI Multiprocessor PC” 3. Choose the "Intel(R) ICH10D/DO SATA AHCI Controller" from the list, you might have to scroll up or down to get to this choice. ...
- Page 2 4. Complete the Windows XP as per usual, once completed you will have a few drivers to install, my device manager looked like this, note that the HAL and mass storage device drivers have been correctly installed. Upon installing the Microsoft UAA Bus driver for High Definition Audio (KB888111) the PCI Device (picture on the left) will disappear and an Audio Device on High Definition Audio Bus (picture on the right) will appear. Click on the device manager items to get to our download page. Device Manager Item Driver details Audio Device on High Definition Audio Bus ADI SoundMAX High Definition audio driver Ethernet Controller Intel 82567LM‐3 Ethernet driver PCI Device Microsoft UAA Bus driver for HD Audio PCI Serial Port Intel AMT – LMS/SOL PCI Simple Communications Controller Intel AMT ‐ MEI SM Bus Controller Intel Q45/Q43 Chipset driver Unknown Device Winbond Trusted Platform Module (TPM) driver Video Controller Intel Q45/Q43 Video drivers ...
- Page 3 ‐Unattended install (RIS): To deploy your image to your current M58/M58p platform you will need to first include the Ethernet and Mass Storage driver within your RIS server, to do this please follow these steps: Adding Ethernet driver (Intel) 1. Click here to download the latest Intel Ethernet drivers from our support site then extract to a temporary location (i.e. C:\Temp). 2. On your Remote Install server create the following structure: [IMAGE_ROOT]\$oem$\$1\Drivers\NIC. 3. Copy all files from the PRO1000\Win32 to the folder in step 2. 4. Make the following changes to the .SIF file that is used for your M58 image (located in [IMAGE_ROOT]\i386\templates). [Unattended] OemPreinstall = yes OemPnpDriversPath = \Drivers\Nic 5. Copy all .SYS files from \PRO1000\Win32\ to the [IMAGE_ROOT]\i386. 6. Delete E1000325.PNF, E1E5132.PNF, E1Q5132.PNF and E1Y5132.PNF (if present) from your [IMAGE_ROOT]\i386 folder. 7. Extract the .INF files from PRO1000\Win32\RIS_INF\E1000325.ZIP, E1E5132.zip, E1Q5132.ZIP, and E1Y5132.ZIP to the [IMAGE_ROOT]\i386 directory. 8. Restart the Remote Install Service. Adding Mass Storage driver (Intel) 1. Click here the download the latest Intel Matrix Storage drivers from our support site. 2. Create an [IMAGE_ROOT]\$oem$\TEXTMODE directory. 3. Extract the file downloaded in step 1 to the directory created in the previous step 4. Make the following changes to the .SIF file that is use for your M58 image (located in the [IMAGE_ROOT]\i386\template folder): ...
- Page 4 [MassStorageDrivers] "Intel(R) ESB2 SATA AHCI Controller" = OEM "Intel(R) ICH7R/DH SATA AHCI Controller" = OEM "Intel(R) ICH7M/MDH SATA AHCI Controller" = OEM "Intel(R) ICH8R/DH/DO SATA AHCI Controller" = OEM "Intel(R) ICH8M‐E/M SATA AHCI Controller" = OEM "Intel(R) ICH9R/DO/DH SATA AHCI Controller" = OEM "Intel(R) ICH9M‐E/M SATA AHCI Controller" = OEM "Intel(R) ICH10D/DO SATA AHCI Controller" = OEM "Intel(R) ICH10R SATA AHCI Controller" = OEM "Intel(R) ESB2 SATA RAID Controller" = OEM "Intel(R) ICH7R/DH SATA RAID Controller" = OEM "Intel(R) ICH7MDH SATA RAID Controller" = OEM "Intel(R) ICH8R/ICH9R/ICH10R/DO SATA RAID Controller" = OEM "Intel(R) ICH8M‐E/ICH9M‐E SATA RAID Controller" = OEM 5. Restart the Remote Install Service ...


