Table of Contents
Advertisement
Available languages
Available languages
INSTALLATIONINSTRUCTIONS
27" (68.6 CM) AND 30" (76.2 CM) ELECTRICBUILT-IN
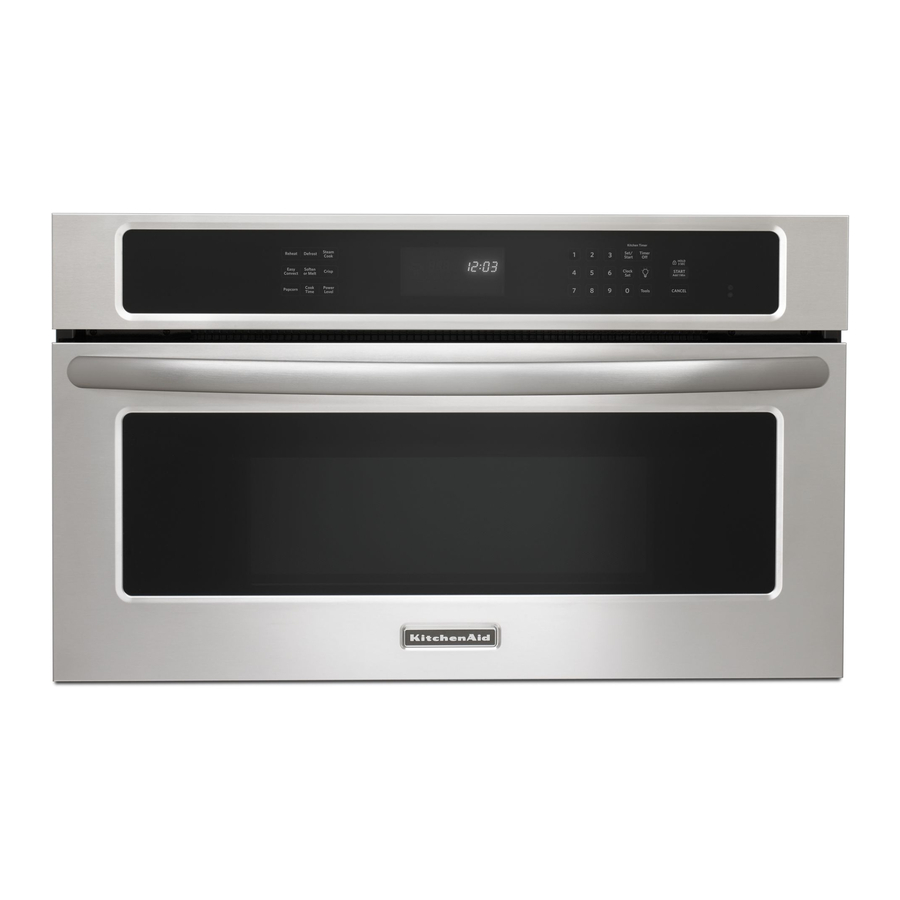
CONVECTION MICROWAVE OVEN
. INSTRUCTIONS D'INSTALLA.TION
FOURA MICRO-ONDES ENCASTREELECTRIQUE
A CONVECTION DE 27" (68,6 CM) ET30" (76,2 CM)
Tableof Contents/Table des mati@res
BUILT-IN MICROWAVE OVEN SAFETY ....................................... 1
................................................
2
Tools and Parts ............................................................................
2
Location Requirements ................................................................
2
Electrical Requirements ...............................................................
3
INSTALLATION INSTRUCTIONS ..................................................
4
Spacer Kit Installation ..................................................................
4
Prepare Built-In Microwave Oven ................................................
4
Make Electrical Connection .........................................................
5
Install Microwave Oven ................................................................
5
Complete Installation ...................................................................
6
ENCASTRE ................. 9
EXIGENCES D'INSTALLATION .....................................................
9
Outils et pieces .............................................................................
9
Exigences d'emplacement ...........................................................
9
electriques ..........................................................
11
D'INSTALLATION .............................................
12
Installation de la trousse d'entretoise ........................................ 12
Preparation du four _ micro-ondes encastre ............................. 12
Raccordement electrique ...........................................................
12
Installation du four a micro-ondes ............................................. 13
Achever I'installation ..................................................................
14
BUILT-IN MICROWAVE OVEN SAFETY
Your safety and the safety of others are very important.
We have provided many important safety messages in this manual and on your appliance. Always read and obey all safety
messages.
This is the safety alert symbol.
This symbol alerts you to potential hazards that can kill or hurt you and others.
All safety messages will follow the safety alert symbol and either the word "DANGER" or "WARNING."
These words mean:
You can be killed or seriously injured if you don't immediately
follow
instructions.
You can be killed or seriously injured if you don't follow
instructions.
All safety messages will tell you what the potential hazard is, tell you how to reduce the chance of injury, and tell you what can
happen if the instructions are not followed.
W10351317A
Advertisement
Table of Contents

Summary of Contents for KitchenAid KBHS179BSS00
-
Page 1: Table Of Contents
INSTALLATIONINSTRUCTIONS 27" (68.6 CM) AND 30" (76.2 CM) ELECTRICBUILT-IN CONVECTION MICROWAVE OVEN . INSTRUCTIONS D'INSTALLA.TION FOURA MICRO-ONDES ENCASTREELECTRIQUE A CONVECTION DE 27" (68,6 CM) ET30" (76,2 CM) Tableof Contents/Table des mati@res SECURITE DU FOUR .&,MICRO-ONDES ENCASTRE ....9 BUILT-IN MICROWAVE OVEN SAFETY ........1 INSTALLATION REQUIREMENTS .......... -
Page 2: Installation Requirements
INSTALLATION REQUIREMENTS If you are installing the junction box on rear wall behind the X ds Grid microwave oven, the junction box must be recessed and located in the upper or lower right or left corner of the cabinet; Gather the required tools and parts before starting installation. otherwise, the microwave oven will not fit into the cabinet Read and follow the instructions provided with any tools listed... - Page 3 Cabinet Dimensions .._ _ 27" (68.6 cm) and 30" (76.2 cm) Microwave Ovens GROUNDING INSTRUCTIONS For a permanently connected microwave oven: The microwave oven must be connected to a grounded, metallic, permanent wiring system, or an equipment grounding conductor should be run with the circuit conductors and connected to the equipment grounding...
-
Page 4: Installation Instructions
• Ifthehouse h asaluminum w iring follow theprocedure below: Forpower requirements, refer t othefollowing table. 1. Connect asection o fsolid copper wire tothepigtail Voltage Microwave Without Microwave With leads. Convection Oven Convection Oven 2. Connect thealuminum w iring totheadded section o f copper wire using special connectors and/or tools 120 VAC 1800W... - Page 5 3-Wire Cable with Ground from Home Power Supply to Microwave Oven Cable with 4-Wires Electrical Shock Hazard Disconnect power before servicing. Use 12 gauge solid copper wire. Electrically ground oven. Failure to follow these instructions can result in death, F. Red wires fire, or electrical shock.
- Page 6 Push against the front frame of the microwave oven to push oven into cabinet. Push microwave oven completely into cabinet and center in cabinet cutout. 1. Check that all parts are now installed. If there is an extra part, NOTE: Open microwave oven door and push against seal go back through the steps to see which step was skipped.
-
Page 9: Securite Du Four .&,Micro-Ondes Encastre
SECURITE DU FOURA MICRO-ONDES ENCASTRE Votre securite et celle des autres est tres importante. Nous donnons de nombreux messages de securit_ importants dans ce manuel et sur votre appareil menager. Assurez-vous toujours lire tousles messages de securite et de vous y conformer. Ce symbole d'alerte de securite vous signale les dangers potentiels de decks et de blessures graves &... - Page 10 Dimensions du placard Dimensions du produit Fours a micro-ondes de 27" (68,6 cm) et 30" (76,2 cm) Fours a micro-ondes de 27" (68,6 cm) et 30" (76,2 cm) Modeles de 27" (68,6 cm) Modeles de 30" (76,2 cm) A. 255_,, (65,1 cm) de largeur A.
- Page 11 Raccordement _lectrique Distances de d_gagement minimales pour I'installation Pour installer le four & micro-ondes correctement, il faut etablir le type de raccords electriques que I'on utilisera et suivre les Pour une installation correcte, les distances de degagement instructions indiquees ici. minimales suivantes doivent _tre respectees au-dessus et au- •...
-
Page 12: Instructions D'installation
INSTRUCTIONS D'INSTALLATION P _;:.,,p3::_ oN. ou [_..u u£ _:,,:L,.,,.> REMARQUES • La trousse d'entretoise du four & micro-ondes permet Flep@rer le c_blage existant pour @viterde le percer ou de d'installer le four dans un encastrement d'une hauteur I'endommager Iors de I'installation. maximale comprise entre 177/16 '' (44,1 cm) et 177/8 '' (45,3 cm). -
Page 13: Raccordement Electrique
4. Installer un connecteur de conduit (homologation UL ou CSA) sur le boitier de connexion. A I'aide d'au moins 2 personnes, soulever le four & micro- ondes et I'introduire partiellement dans I'ouverture d'encastrement du placard. Si I'on a installe une trousse d'entretoise, soulever le four &... - Page 14 Fixer solidement le four & micro-ondes au placard & I'aide des Achev@ deux vis & t_te plate de 3/4" fournies. Inserer les vis & travers les trous des glissieres de montage. Ne pas serrer 1. Verifier que toutes les pieces sont maintenant installees.
- Page 16 W10351317A 6/12 © 2012 Whirlpool Corporation. Printed in U.S.A. All rights reserved. Tous droits reserves. Imprime aux E.-U.


