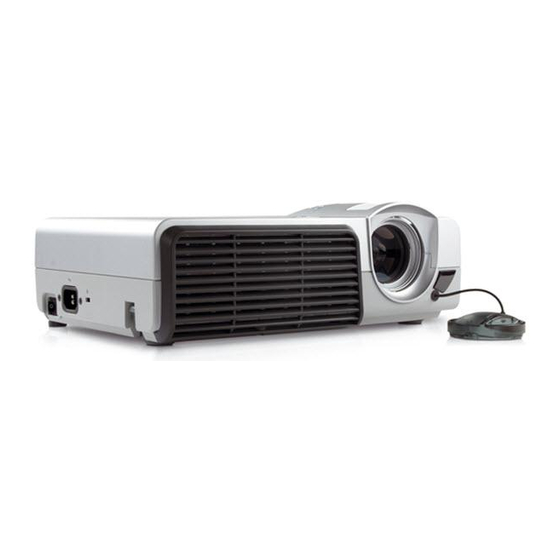
HP vp6121 Installation Manual
Hp vp6121: install guide
Hide thumbs
Also See for vp6121:
- User manual (35 pages) ,
- Supplementary manual (4 pages) ,
- Specifications (4 pages)
Advertisement
Quick Links
Download this manual
See also:
User Manual
INSTALLATION MANUAL
MANUEL D'INSTALLATION
安装手册
PŘÍRUČKA PRO MONTÁŽ
Manuale d'installazione
安裝手冊
Installationshandbuch
Podręcznik instalacji
取り付け説明書
MANUAL DE INSTALACIÓN
Manual de instalação
임명 설명서
www.hp.com
PM ©2004/REV 00
Advertisement

Summary of Contents for HP vp6121
- Page 1 INSTALLATION MANUAL MANUEL D'INSTALLATION 安装手册 PŘÍRUČKA PRO MONTÁŽ Manuale d’installazione 安裝手冊 Installationshandbuch Podręcznik instalacji 取り付け説明書 MANUAL DE INSTALACIÓN Manual de instalação 임명 설명서 www.hp.com PM ©2004/REV 00...
- Page 2 • Do not install in locations where there is vibration, movement or danger of impact. Failure to do so could result in excessive projector vibration or falling from the wall or ceiling causing damage and injury. • Qualified personnel should always perform the installation work.
- Page 3 4.500" (114.3 mm) Ø0.281" (7.1mm) Ø0.375" (X4) (9.5 mm) 6.720" (170.6 mm) 4.500" (114.3 mm) 3.000" (76.2 mm) 3.000" (76.2 mm) 3.781" (96.0 mm) Ø1.400" (x2) (35.5 mm) 5.219" (132.5 mm) 6.000" (152.4 mm) - 3 -...
- Page 4 - 4 -...
- Page 5 Getting the projector ready • CAUTION: Secure but do not over-tighten the mounting hardware. Failure to do so will result in damaging the threads in the projector. Příprava projektoru • CAUTION: Montážní součásti utáhněte, ale nepřetahujte je. Nedodržení tohoto pokynu způsobí...
- Page 6 - 6 -...
- Page 7 • The wall or ceiling structure must be capable of supporting at least five (5) times the weight of projector. If not, the wall or ceiling must be reinforced. Proper installation procedure by qualified personnel as outlined in the installations instructions must be adhered to.
- Page 8 - 8 -...
- Page 9 Securing the upper projector to the upper assembly • Make sure the three knurl knobs are loosened to fully expose to the “tri-lock” mounting plate in the base of the upper assembly. Secure the rear safety knob (1) first to prevent further rotation of the bracket in the upper assembly.
- Page 10 - 10 -...
- Page 11 Final line up adjustments • With the projector secured in the mount and power on and signal supplied to the projector you can now proceed with the final height, tilt, roll and yaw adjustments to optimize the projector image. Konečné...
-
Page 12: Printed In The Usa
Printed in the USA - 12 -...


